How to Make Homemade Recycled Paper from Leaves DIY Guide
Transforming Nature into Creativity
Have you ever considered turning fallen leaves into something beautiful and functional? Homemade recycled paper made from leaves is not only an eco-friendly project but also a rewarding creative outlet. This DIY guide will explore how you can harness nature’s bounty to produce your very own unique paper.
- Reduce Waste: Utilizing leaves helps decrease landfill waste. In the U.S., approximately 28% of waste comes from paper products, making recycling much more important in today’s environmentally conscious world.
- Cost-Effective: Create paper at little to no cost with materials around your home. Simple items such as kitchen blenders, strainers, and even old sheets can be repurposed for this project, demonstrating that sustainability can be both affordable and creative.
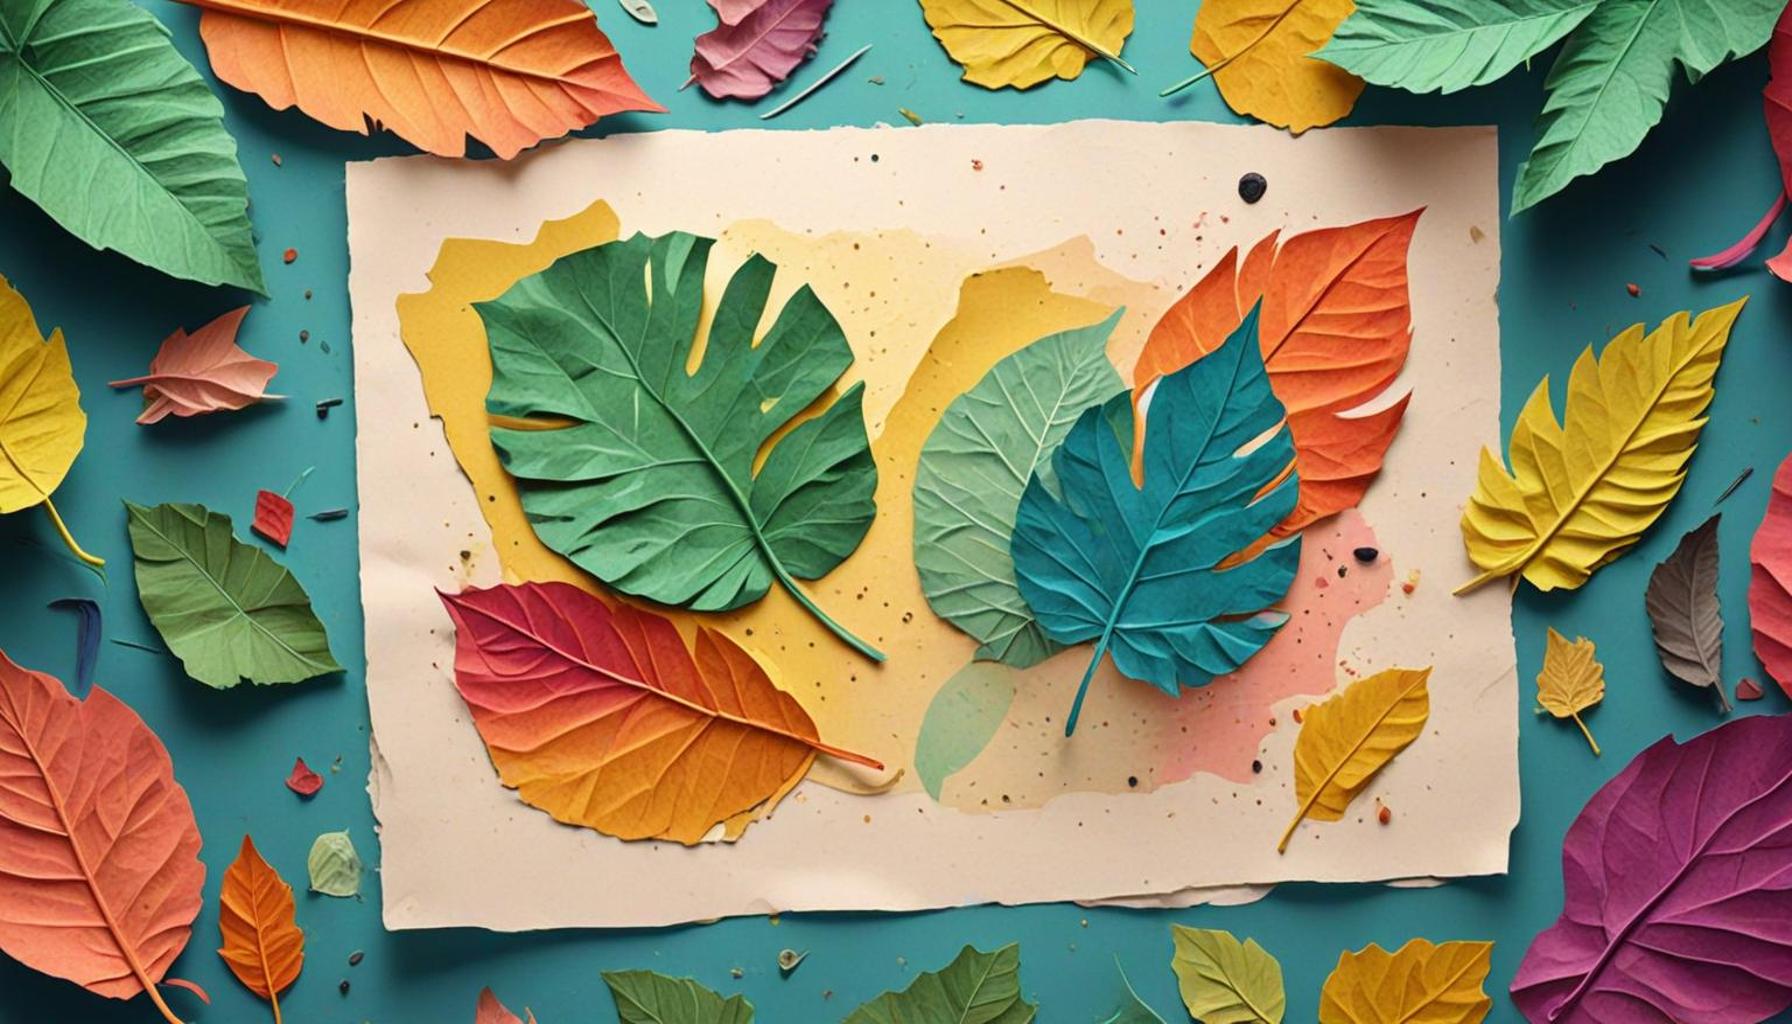
- Unique Textures: The fibers in leaves provide distinct characteristics, making each piece one-of-a-kind. Depending on the type of leaves you use—be it vibrant maple, sturdy oak, or delicate birch—the final paper can range in color, thickness, and texture.
As more people embrace sustainability, learning how to make recycled paper becomes a valuable skill. From your personalized stationery to crafting intricate greeting cards, the potential applications for your handmade paper are endless. You could even create personalized wrapping paper, providing an extra touch of thoughtfulness to your gifts. Imagine the delight of recipients when they receive unique notes crafted on organic material, each bearing the rich story of its creation.
This process goes beyond just recycling; it connects you with nature and educates you about the resources available in your surroundings. Understanding the lifecycle of paper enhances your appreciation of the natural world. Locally sourced leaves not only enrich your crafting experience but also instill a sense of community connection. By engaging with your environment, you elevate your creativity, transforming everyday elements into tangible art.
Follow along as we guide you through the steps to transform ordinary leaves into extraordinary paper. Gather your materials, including leaves, water, and a blender, and prepare for a deep dive into creativity and sustainability. Whether you are in the heart of a bustling city or nestled in the countryside, this project is accessible for everyone. You may even inspire your friends and family to embark on a similar journey of crafting and conservation!
This artistic endeavor not only allows you to produce something practical but also lets you enjoy the meditative process of creation. Each step—collecting leaves, blending, and forming sheets—is an invitation to slow down, connect with nature, and embrace the beauty of recycled art. Explore, learn, and let your creativity bloom!
CHECK OUT: Click here to explore more
Gathering Your Materials
Before diving into the creative process of making homemade recycled paper from leaves, it’s essential to gather all the necessary materials. This project not only promotes sustainability but also encourages you to explore the textures and colors that different types of leaves can contribute to your final product. Here’s a comprehensive list of what you will need to start your paper-making journey:
- Leaves: Any fallen leaves can work, but consider using leaves such as maple, oak, or birch for their rich textures and colors.
- Water: Essential for breaking down the leaf fibers during the blending process.
- Blender: A standard kitchen blender will help transform the leaves into a pulp.
- Strainer or Cheesecloth: This will be used to separate the excess water from the pulp.
- A flat surface: You will need a sturdy workspace to dry your paper, like a cutting board or a large piece of cardboard.
- Rolling pin (optional): This can help flatten the sheets of paper if you desire a smoother finish.
The process of creating your recycled paper requires attention to detail and a bit of patience. First, embark on a leisurely walk in your neighborhood or nearby parks to collect a variety of leaves. Aim for a selection that embodies different colors and sizes, as this will enhance the overall aesthetic of your paper. Notably, opting for leaves that are free from pests or harsh blemishes will yield better results in your final product.
Once you’ve collected your leaves, it’s time to prepare them. Rinse them under cool water to remove any dirt or debris, and allow them to dry slightly. The amount of leaves you collect can vary based on how many sheets of paper you wish to create. Generally, a bag full of leaves will produce a manageable amount of pulp for several sheets.
Preparing the Leaf Pulp
The next stage in your DIY paper-making guide is to turn those leaves into pulp. This step is vital as it is where the magic happens. Place a handful of leaves into the blender and add enough water to cover them. Blend the mixture on high until it becomes a smooth, consistent pulp—this usually takes about 30-60 seconds. The finer the pulp, the better your paper will turn out, so don’t hesitate to blend longer if needed.
After you’ve achieved the desired consistency, carefully pour the pulp into a strainer or set it inside layers of cheesecloth over a bowl, allowing the excess water to drain away. The key here is to express as much water as possible from the pulp, as this will help in forming sheets that dry properly. Once drained, your leaf pulp is ready for the next stage of crafting your unique sheets of paper.
This is the moment where variables come into play; you can start experimenting with different mixes of leaves, incorporating flower petals or even adding natural dyes for extra color. The customizability of your paper gives you the opportunity to explore creativity like never before.
In our next section, we will delve into the steps for forming and drying your paper sheets, setting you on the path to creating beautiful homemade recycled paper from simple leaves. Get ready to unleash your artistic side and transform the mundane into the extraordinary!
| Category | Key Features |
|---|---|
| Sustainability | Making paper from leaves reduces waste and promotes eco-friendly practices. |
| Cost-Effectiveness | Save money by using natural materials available in your backyard. |
| Creativity | Utilize unique leaf types for personalized paper designs and textures. |
| Educational Experience | Learn about recycling and the paper-making process through hands-on activities. |
In this DIY guide, we explore the fascinating journey of transforming everyday leaves into beautiful, recycled paper. Not only does this process embody the spirit of sustainability, it also acts as a remarkable conversation starter about environmental awareness. With minimal tools and materials, you can engage in this craft project that highlights the importance of recycling and repurposing.Plan for an enriching experience as you gather leaves from various plants, taking note of their textures and colors. Your selection impacts the aesthetics of your final product, allowing for creativity to flourish within waste usage. This approach nurtures both an artistic outlet and fosters innovation in crafting while aligning with eco-conscious living.The added benefit of saving money can’t be overstated—why purchase patterned papers when you can create your own, uniquely designed sheets? As you embark on this paper-making adventure, you’re not just crafting; you’re contributing to a greater dialogue about sustainability and resourcefulness in our daily lives.
CHECK OUT: Click here to explore more
Forming and Drying Your Paper Sheets
With your leaf pulp ready to go, it’s time to transition into the exciting phase of forming paper sheets. This is where your creativity can truly shine! The first step is to take a portion of your pulp and form it into a flat shape. You can use a mold, screen, or simply your hands, depending on the texture and style you wish to achieve. If you choose to utilize a screen, you can create a more structured sheet with defined edges, while molding by hand may lead to more organic shapes with varying thicknesses.
Start by spreading the pulp evenly onto the surface of your mold, or if using your hands, gently press it down flat and smooth. Aim for a thickness of about 1/8 to 1/4 inch; thicker sheets may take longer to dry and can result in a less durable final product. Additionally, this is the perfect time to incorporate any decorative elements, such as flower petals, dried herbs, or even glitter for a touch of whimsy. Consider embedding natural fibers to enhance the paper’s strength and appearance while providing a unique textural experience.
Once you have formed your sheets, the next step is to remove excess water. Using your strainer or cheesecloth, gently press down on the pulp to extract as much moisture as possible without compromising the integrity of your paper sheet. Be cautious; too much force can alter the shape and texture you’ve carefully created.
Drying Your Paper
Now comes the drying process, which is crucial for achieving a successful sheet of paper. Place your formed pulp sheets onto a flat surface like a cutting board or transfer them to a piece of cardboard. Allow your creations to sit in a warm, well-ventilated area, away from direct sunlight. If you’re in a particularly humid environment, consider using a fan or approaching a speedier drying method—like pressing the sheets between two absorbent towels to absorb excess moisture.
Generally, your sheets will need a drying time of 24 to 48 hours, depending on their thickness and the ambient drying conditions. It’s important to check the moisture content periodically; when they feel dry to the touch but not brittle, they are ready to be removed from the surface. Gently peel the sheets off, being careful not to tear them. If any sheets are slightly damp, they may need a little extra time to fully dry.
For those who desire a smoother finish, consider running your dried sheets through a rolling pin for an even texture. This step is optional, but it adds a polished feel that can elevate the aesthetics of your finished product. You can leave the paper as is for a rustic appearance or use different cutting tools to shape it into cards, invitations, or note sheets!
Exploring Post-Creation Techniques
Once your homemade recycled paper from leaves is fully dried and ready to use, the fun doesn’t stop there. You can experiment with different techniques to enhance your paper. Consider applying a layer of natural wax or a light sealant to offer some durability, especially if using the sheets for crafting. You might also want to utilize watercolors or inks to paint or write on this unique canvas, with the leaf fibers creating an enchanting backdrop.
Additionally, this DIY project can be a wonderful activity to share with friends or family. Think of organizing a paper-making gathering where each participant can bring different types of leaves, allowing everyone to create their own unique batches and share artistic inspirations. This not only builds creativity but reinforces the community’s connection to sustainable practices and the appreciation of nature.
As you navigate this incredibly rewarding craft, remember: every sheet you create is not only a step towards recycling and sustainability but also a canvas that holds the rich beauty of nature. Enjoy your journey into the world of homemade recycled paper!
CHECK OUT: Click here to explore more
Conclusion: Embracing Sustainability with Homemade Recycled Paper
In conclusion, creating homemade recycled paper from leaves is not just a delightful DIY project; it is a meaningful endeavor that embodies sustainability and creativity. By repurposing natural materials, you not only contribute to reducing waste but also celebrate the beauty found in nature’s simplicity. Each sheet of paper holds within it the essence of the leaves used, making it a unique canvas for your artistic expressions.
Throughout this guide, we’ve explored the essential steps—from selecting the right leaves to transforming them into a rich pulp and finally crafting beautiful, textured sheets. Each phase of the process encourages you to harness your creativity, whether it’s decorating your paper with seasonal elements or engaging in a communal crafting session. Moreover, the paper’s customization potential allows ample space for personal flair, which can be particularly exciting for creative projects, gifts, or even business stationery.
As you embark on your paper-making journey, consider sharing your creations with friends, family, or local community groups to inspire others to appreciate and adopt sustainable practices. The act of creating recycled paper becomes a celebration of resourcefulness and a small but impactful contribution to environmental conservation. By making your own paper, you are not only engaging in a fulfilling craft but also nurturing a deeper connection with the environment.
So, gather your fallen leaves, unleash your creativity, and discover the rewarding world of homemade recycled paper. With every sheet you craft, you are taking a step toward a greener future while celebrating the artistry of nature.
Related posts:
How to Build Small Furniture with Recycled Pallets at Home
Create Felt Dolls with Custom Templates Step-by-Step Guide
Create DIY Sculptures Master Homemade Modeling Clay Techniques
Creative Phone Case Customization Handmade Art Tips Tricks
How to Make DIY Glass Jar Lanterns Step-by-Step Craft Guide
Master Handmade Bookbinding Explore the Hobby Step-by-Step Guide

Linda Carter is a writer and creative hobbies expert specializing in crafting, DIY projects, and artistic exploration. With extensive experience helping individuals discover their creative potential and bring their ideas to life, Linda shares her knowledge on our platform. Her goal is to empower readers with practical tips, inspiring ideas, and step-by-step strategies for success in the world of creative hobbies.