Create DIY Sculptures Master Homemade Modeling Clay Techniques
Unleash Your Inner Artist
Creating stunning sculptures at home is within everyone’s reach! With just a few basic ingredients, you can master homemade modeling clay techniques that will transform simple materials into captivating art pieces. Sculpting isn’t just for professionals; it’s a wonderful way to express your creativity and produce tangible art. Thanks to DIY methods, the possibilities are nearly endless!
Why Choose DIY Sculptures?
DIY sculptures offer an incredible outlet for creativity. Here are some compelling reasons to dive into crafting with homemade modeling clay:
- Affordability: By using common household items like flour, salt, and water, you can create clay without breaking the bank. For instance, a simple recipe involves mixing two cups of flour, one cup of salt, and three-quarters of a cup of water. This economical approach allows you to craft without the pressure of high costs, making art accessible to everyone.
- Customization: When you create your own modeling clay, you have the freedom to design unique pieces tailored to your personal style or intended theme. Imagine sculpting a whimsical garden gnome, a detailed animal figurine, or even an abstract design that resonates with your emotions—each piece becomes a reflection of you.
- Bonding Experience: Sculpting is a fantastic family activity that fosters creativity and teamwork. Whether you organize a weekend crafting session with your kids or invite friends over for a creative evening, working together to create sculptures can build stronger relationships. It encourages collaboration and lets everyone embrace their artistic side, regardless of skill level.
What You Will Discover
In this article, you will learn:
- Easy recipes for crafting your own modeling clay, such as air-dry clay that eliminates the need for baking while still resulting in durable creations.
- Essential tools you’ll need for sculpting. While your hands are primary tools, items like sculpting tools, rolling pins, and texture mats can enhance your artistry by adding intricate details.
- Various techniques to elevate your sculptures from basic to breathtaking, including methods like coiling, pinching, and slab building, which allow for intricate and diverse designs.
Whether you’re a beginner or an experienced artist, mastering homemade modeling clay techniques will inspire you to create a world filled with original sculptures. The beauty of these techniques lies in experimentation; there’s no right or wrong way to create. Get ready to explore and unleash your creativity. Your artistic journey is just beginning!
SEE ALSO: Click here to read another article
Essential Recipes for Homemade Modeling Clay
To start your journey into the world of DIY sculptures, you’ll first need to create your modeling clay. This is where the fun begins! Below are some simple yet effective recipes for homemade modeling clay that not only cater to a variety of projects but also ensure a safe crafting experience. Whether you’re a beginner or an experienced sculptor, these recipes will become your artistic playground.
Classic Flour and Salt Dough
The most popular and traditional recipe is the classic flour and salt dough. This easy-to-make clay is perfect for whimsical creations and has a lovely texture for sculpting:
- Ingredients: 2 cups of all-purpose flour, 1 cup of salt, and ¾ cup of water.
- Instructions: In a mixing bowl, combine the flour and salt, then slowly add the water while stirring. Knead the mixture until it forms a smooth dough. If it’s too sticky, sprinkle in a bit more flour.
This dough can air dry or be baked at a low temperature until hardened, allowing you to achieve a firm finish on your sculptures.
Air-Dry Clay Recipe
If you’re looking for a no-bake option, consider making air-dry clay. This recipe is malleable, easy to create, and perfect for those who prefer not to use an oven:
- Ingredients: 1 cup of cornstarch, 2 cups of baking soda, and 1 ½ cups of water.
- Instructions: In a saucepan, combine cornstarch and baking soda. Slowly add water and stir over medium heat until the mixture thickens. Remove from heat and let it cool before kneading it into a smooth consistency. Store it in an airtight container when not in use to keep it fresh.
This type of clay dries over time when exposed to air, making it ideal for detailed pieces that you’d like to keep intact without additional firing.
Tips for Crafting with Clay
As you embark on your sculpting journey, consider these essential tips to enhance your experience and output:
- Plan Your Sculpture: Sketch your design before starting. This provides clarity and helps you visualize proportions and details.
- Use the Right Tools: Investing in a few basic tools, like sculpting tools and rolling pins, can tremendously enhance your technique. They allow you to add intricate details that can elevate the quality of your work.
- Keep Your Hands Moist: To prevent the clay from drying out too quickly while molding, occasionally moisten your hands and tools. This will also enhance the clay’s pliability.
With these basic recipes and tips in mind, you’re now equipped to begin your sculpting adventures. The beauty of mastering homemade modeling clay techniques lies in the experimentation and personalization of your creations. As you learn and grow, you’ll discover new ways to express yourself through your art.
| Advantages | Details |
|---|---|
| Creative Expression | Creating DIY sculptures allows individuals to explore their imagination and showcase their artistic talents. |
| Therapeutic Benefits | Modeling clay techniques provide relaxation and stress relief, enhancing mental well-being through art. |
| Cost-Effective | Homemade modeling clay is affordable and can be made with common household ingredients, making it accessible for everyone. |
| Skill Development | Engaging in sculpting enhances fine motor skills, hand-eye coordination, and artistic techniques important for all ages. |
The world of DIY sculptures beckons those eager to master homemade modeling clay techniques. Engaging in sculpting not only enhances your creative outlets but also opens up a realm of possibilities for artistic development. Each artistic endeavor fuels inspiration, igniting a passion that transforms simple clay into stunning forms of self-expression. The process of shaping and molding clay can act as a sanctuary for the mind, providing a therapeutic escape. Immerse yourself in this hands-on activity, and you may find the stress of the day fading away as your sculpture comes to life. With minimal investment and a few everyday items, the creation of your own modeling clay can become an enriching experience. Not only does DIY sculpture creation unleash creativity, but it also nurtures essential skills, ranging from fine motor control to imaginative thinking. Whether you are a beginner or an experienced artist, the art of sculpting opens a channel through which your creativity can flourish, encouraging you to discover the limitless potentials of your craft.
SEE ALSO: Click here to read another article
Advanced Techniques for Enhanced Modeling Clay Projects
Once you’ve mastered the basic recipes for homemade modeling clay, it’s time to delve into more advanced techniques that can elevate your DIY sculptures to an entirely new level. These methods will not only broaden your skill set but also unlock new creative potentials that can transform everyday materials into extraordinary works of art.
Coloring and Texturing Your Clay
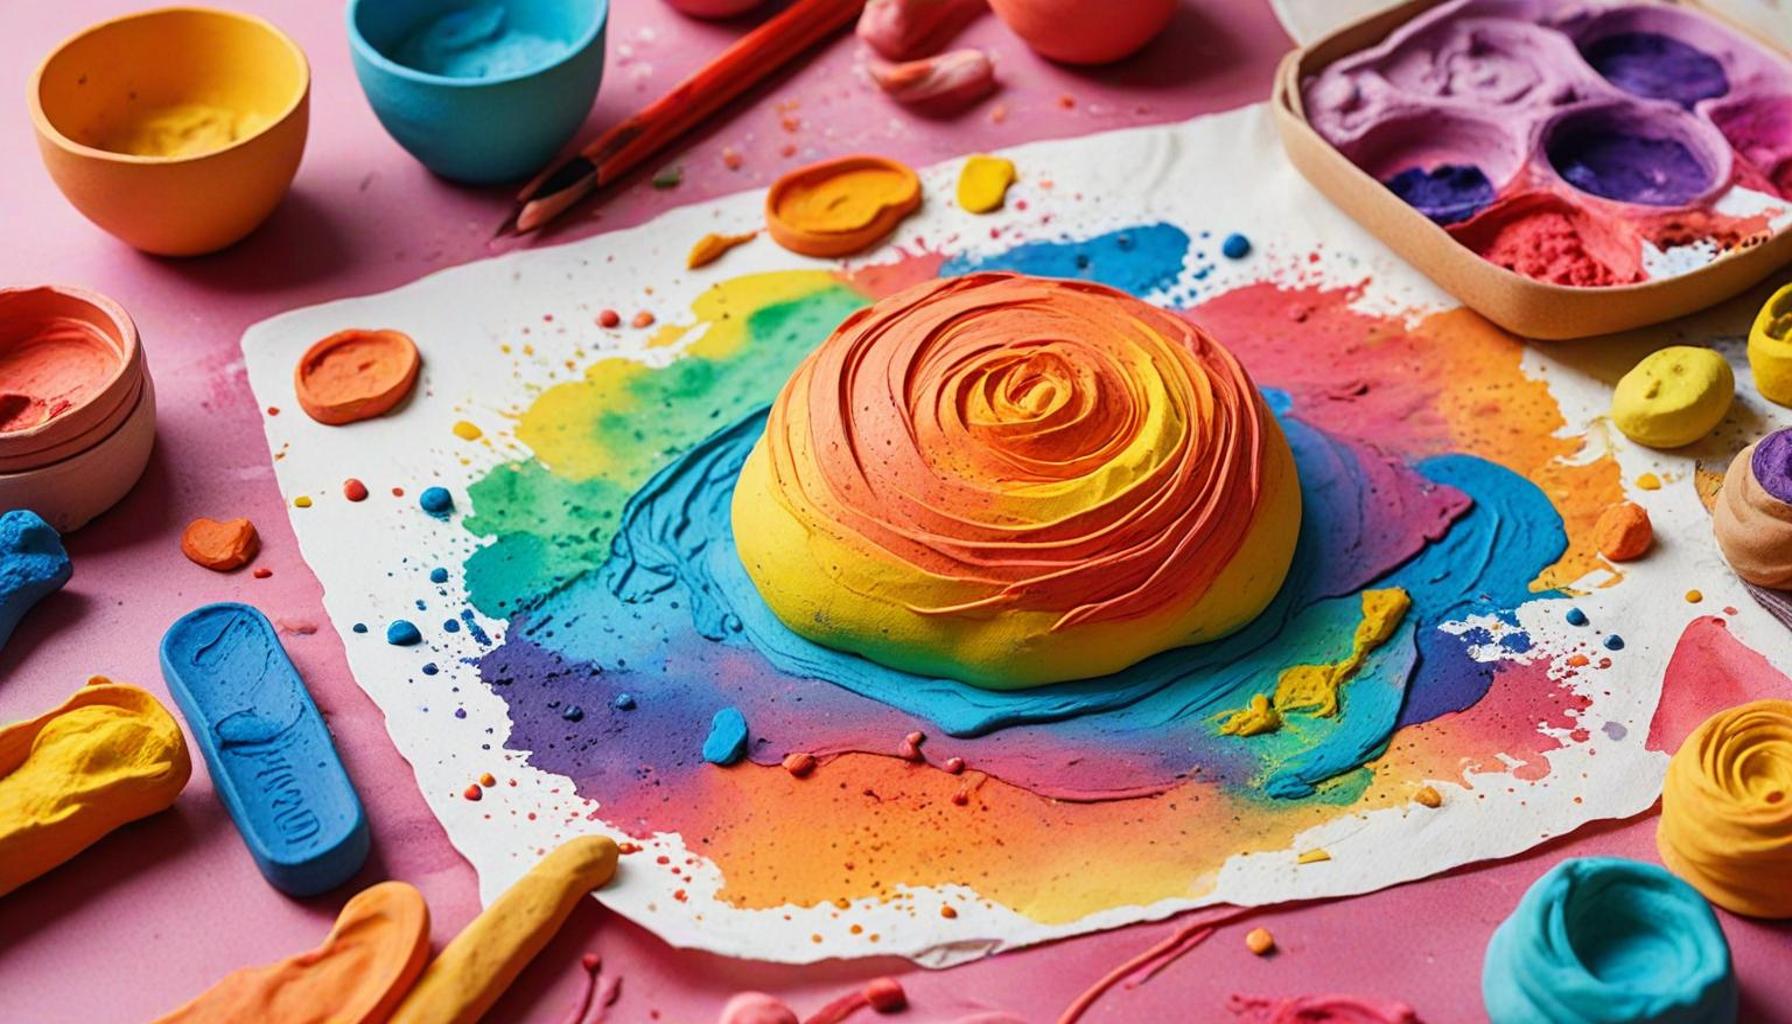
Add life and dimension to your sculptures by incorporating colors and textures. You can easily create colored clay by adding food coloring or acrylic paints into the dough while mixing. Experiment with different amounts of color to achieve your desired shade. For a more natural look, consider blending subtle hues or using pastel colors.
- Tip: To avoid the color bleeding during the drying process, let your clay mix sit for a few minutes before starting your sculpture.
For texturing, you can utilize everyday objects; pressing items such as leaves, fabric, or even textured plastics into the clay can create stunning patterns and designs. This creative approach not only adds depth but also makes your art pieces unique to your style.
Armature Support for Larger Sculptures
If you aim to create larger sculptures, consider using an armature for additional support. An armature serves as a skeleton for your sculpture, providing stability and preventing sagging. Simple materials like wire, wooden dowels, or even crushed aluminum foil can be used to build the underlying structure.
- Steps: Shape your armature first, then begin applying your clay in layers. Focus on building the foundational shape before adding finer details.
This method is particularly effective for ambitious projects such as life-sized or abstract sculptures, ensuring they retain their intended structure and can withstand handling.
Sealing and Finishing Techniques
Once your masterpieces are complete and dry, sealing them is essential for durability. A simple clear acrylic spray can protect your sculptures from moisture and enhance their colors. Alternatively, a homemade sealant can be created using equal parts of white glue and water. Brush this mixture over your sculpture to provide a smooth and protective finish.
- Pro Tip: Before applying any sealant, test it on a small, separate piece of clay to ensure the desired finish and effect without altering the color.
For those interested in achieving a professional finish, consider painting your sculptures with high-quality acrylic paint. This step allows for intricate details and vivid colors that resonate with your overall vision. Don’t hesitate to utilize artist-grade brushes for fine detailing and layering effects.
Creative Ideas and Inspiration
As you become more comfortable with your clay crafting skills, it’s crucial to distill inspiration from various sources. Engage with the art community by visiting galleries or online forums dedicated to DIY art projects. You can also explore social media platforms like Instagram or Pinterest to discover trending styles and innovative techniques.
A fun project idea is to replicate famous sculptures popular around the U.S., allowing you to decipher artistic styles while honing your replication skills. Another engaging theme is to create a series of sculptures that encapsulate different emotions, family stories, or cultural symbols, giving each piece a narrative that resonates personally.
The world of homemade modeling clay techniques is vast and full of endless possibilities. Embrace experimentation and exploration as you craft your next sculptural masterpiece, transforming traditional crafting into an exhilarating artistic journey.
SEE ALSO: Click here to read another article
Conclusion
In conclusion, the realm of DIY sculptures utilizing homemade modeling clay offers an exciting canvas for creativity, allowing artists of all levels to express themselves uniquely. By mastering not just the basic recipes but also the advanced techniques discussed, you can elevate your artistry to new heights. Incorporating color and texture, utilizing armatures for stability, and applying effective sealing methods all contribute to the durability and appeal of your sculptures.
As you embrace the journey of crafting with clay, don’t hesitate to seek inspiration from various artistic communities and platforms. Every sculpture you create is not just a representation of your skills but also a personal narrative reflecting your thoughts and emotions. Remember, practice is key; the more you experiment with different styles and techniques, the more confident you will become in your artistic endeavors.
Ultimately, the world of modeling clay is boundless, and the only limit is your imagination. So gather your materials, unleash your creativity, and embark on crafting sculptures that inspire not only yourself but those around you. Whether you’re creating small tokens of affection or grand statement pieces, every project offers an opportunity to learn and grow as an artisan. Dive into this captivating universe, and let each piece be a testament to your journey.
Related posts:
Creative DIY Craft Ideas for Beginners Using Recyclable Materials
Creative Phone Case Customization Handmade Art Tips Tricks
Transform Burnt-Out Bulbs into DIY Decorative Pieces Easy Guide
Artistic Scrapbook Projects to Capture Memories Creatively
Handcrafted Puppetry Essential Tips for Beginners Starting Out
Create Your Own Handmade Illustrated Book A Step-by-Step Guide

Linda Carter is a writer and creative hobbies expert specializing in crafting, DIY projects, and artistic exploration. With extensive experience helping individuals discover their creative potential and bring their ideas to life, Linda shares her knowledge on our platform. Her goal is to empower readers with practical tips, inspiring ideas, and step-by-step strategies for success in the world of creative hobbies.