Create Artistic Paper Mache Masks Step-by-Step Craft Guide
The Art and Joy of Crafting Paper Mache Masks
The enchanting craft of paper mache masks not only sparks creativity but also allows for a truly unique expression of individuality. With a simple combination of materials such as newspaper, water, flour, and glue, you can embark on a journey that transforms ordinary paper into extraordinary art. This craft is a remarkable way to engage not only your artistic side but also your imagination, as the possibilities are virtually limitless.
Why consider making your own paper mache masks? Here are several compelling reasons:
- Affordable Materials: Many of the supplies are likely available right in your home: old newspapers, some flour, and water can create the perfect paste. This makes it an excellent budget-friendly activity.
- Artistic Freedom: Whether you want to create a grinning feline, a fierce dragon, or something more abstract, the only limit is your imagination. You can craft masks that represent characters from your favorite stories, cultural icons, or entirely new creations.
- Fun for All Ages: This craft is an enjoyable activity for kids, adults, and families alike. It provides a perfect opportunity for collaboration and learning together, allowing everyone to share their ideas and skills.
Throughout this step-by-step craft guide, you will discover the skills necessary to create stunning masks that can serve as conversation starters at parties or as a creative outlet. The process begins with forming the base of your mask, which is typically done by creating a mold from a balloon or a mannequin head. Layering the paper mache becomes a therapeutic experience as you dip, lay, and smooth each piece into place.
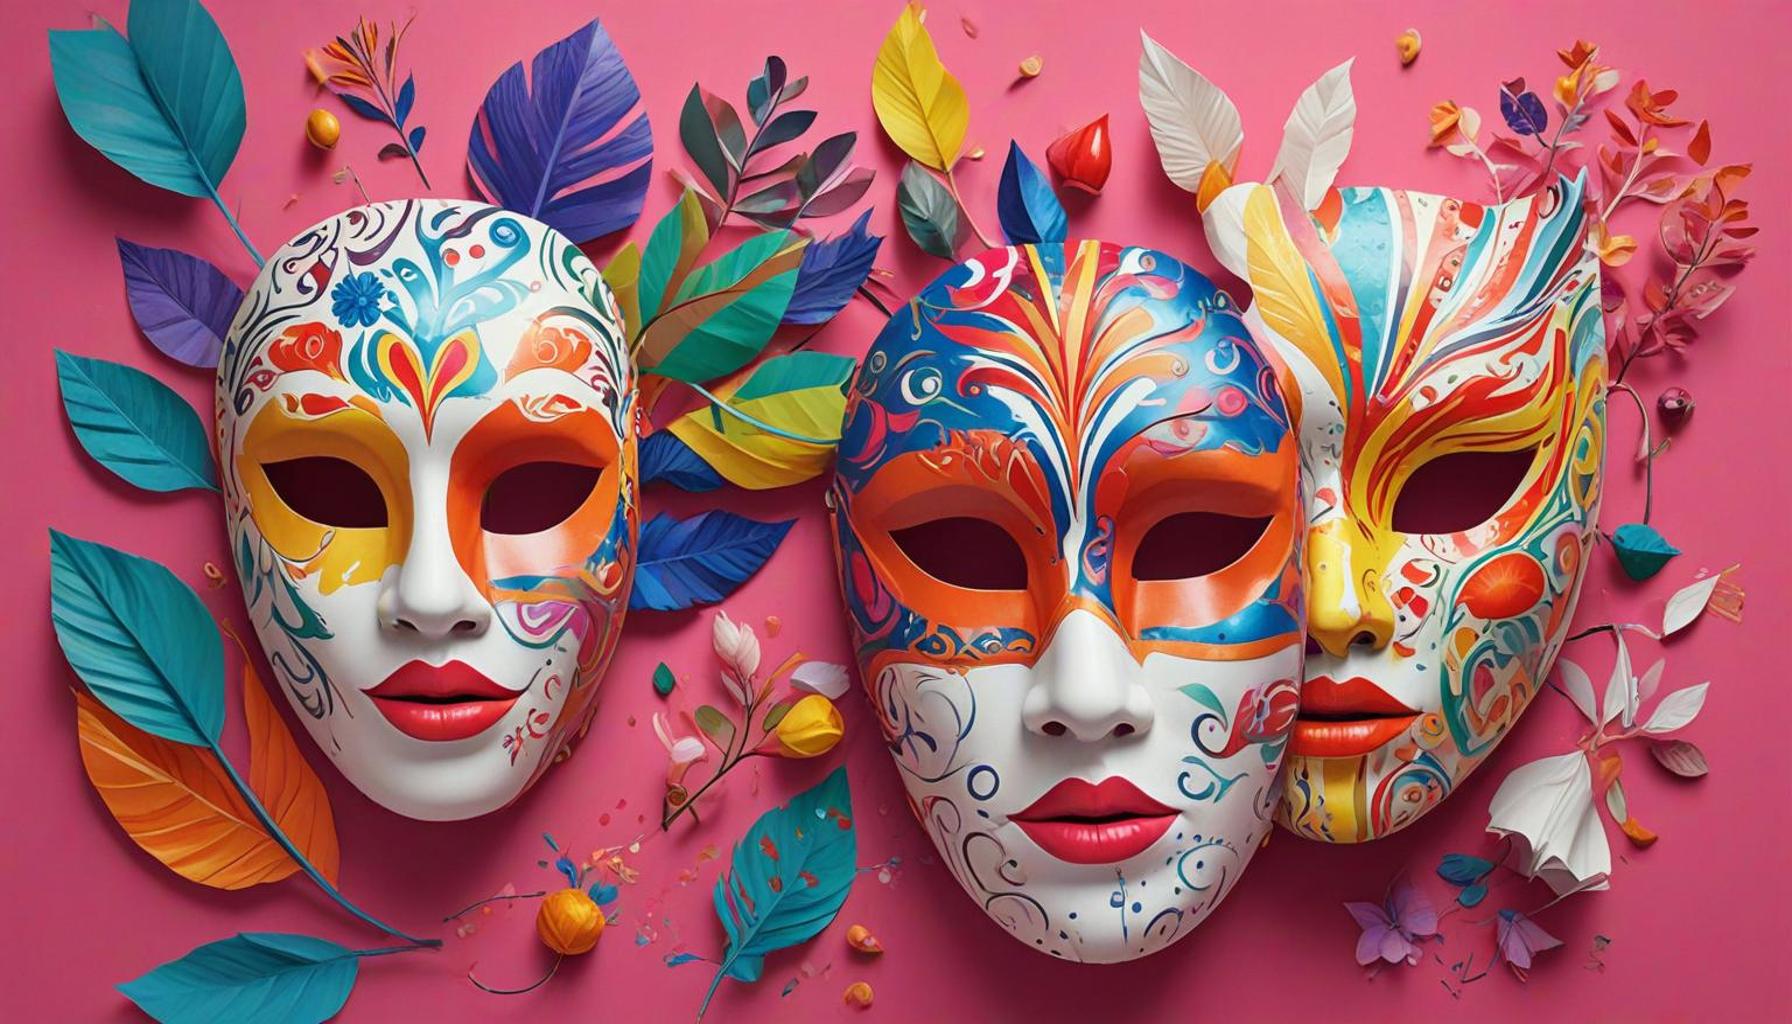
After the base has dried and set, the true fun begins. Painting and decorating your mask allows for self-expression and creativity to flow freely. From vibrant colors to intricate designs, embellishments such as feathers, beads, and glitter can add a special touch to your creation. For inspiration, consider looking into various mask-making traditions from around the world, such as the Venetian carnival masks known for their detailed designs and dramatic flair.
Making paper mache masks offers you a chance to not only craft a wearable piece of art but also to connect with diverse cultural practices. The tradition of mask-making is steeped in history, often used in rituals, performances, and celebrations. By embracing this craft, you can bridge the gap between modern creativity and ancient artistry.
So gather your materials and unleash your creative spirit! This engaging activity promises to be as educational as it is enjoyable, inviting you into the vibrant world of paper mache and connecting you with a timeless artistic tradition.
SEE ALSO: Click here to read another article
Gathering Your Materials for Paper Mache Masks
Before diving into the art of creating paper mache masks, it’s crucial to assemble all the necessary materials. The beauty of this craft lies in its simplicity, as most of the items you need can be found around the house or acquired easily from local stores. Here’s a comprehensive list of materials to kickstart your project:
- Newspaper: Old newspapers are perfect for tearing into strips. They’re lightweight and absorbent, making them an ideal base.
- Flour and Water: This classic combination creates a strong adhesive paste. You can mix one part flour with two parts water to achieve the right consistency.
- Balloon or Mannequin Head: To mold your mask, a balloon is a simple yet effective choice. Alternatively, a mannequin head can provide a more intricate result.
- Paints and Brushes: After your mask dries, vibrant acrylic paints can bring your creation to life. Be sure to have different brush sizes for detailed work.
- Decorative Elements: Consider adding embellishments such as feathers, sequins, beads, or glitter to add flair and originality to your mask.
- Plastic Tablecloth: To protect your workspace, lay down a plastic tablecloth or old newspaper.
- Scissors: Handy for cutting your newspaper into strips or for resizing your balloon mold as needed.
With your materials in hand, you are ready to embark on this creative journey. The first step in the paper mache process is to prepare your working environment. Choosing a spacious area will allow you the freedom to maneuver and create without feeling cramped. Consider setting up a table specifically for this purpose, where you can spread out your materials and work comfortably.
Creating the Mold for Your Mask
Next comes the fun and pivotal task of crafting the mold for your mask. The balloon method is one of the most popular choices as it provides a spherical shape that’s perfect for a mask. Here’s how you can create your base:
- Inflate the balloon: Choose a size that reflects the proportions you want for your mask, typically a medium-sized balloon works well.
- Attach the balloon securely: Use a piece of string to tie the balloon down to your workspace to prevent it from rolling around while you work.
- Begin layering the paper mache: Dip strips of newspaper into your flour and water paste one at a time. Make sure to remove excess paste by running the strips between your fingers. Lay these strips over the balloon, overlapping them to ensure a sturdy foundation.
It’s important to layer several strips to create strength in your mask. Aim for at least three to four layers, allowing each layer to dry thoroughly before adding the next. Drying time can vary depending on humidity, but typically it takes 24 hours for the mask to set. You’ll know it’s ready when it feels hard to the touch and holds its shape.
This initial phase is not only crucial for the stability of your paper mache mask but also sets the stage for the artistic endeavors to come. Once the base is solidified, you can unleash your creativity with painting and decorating, tailoring your mask to match your vision. The anticipation of personalizing your mask adds to the excitement, so stay tuned for the next steps that will transform a simple mold into a captivating piece of art!
| Advantages | Details |
|---|---|
| Enhances Creativity | The Create Artistic Paper Mache Masks guide encourages artistic expression, allowing individuals to explore colors, textures, and designs. |
| Affordable Materials | Utilizes common household items like newspapers, flour, and water, making this an economical and accessible form of art. |
Exploring the process of crafting paper mache masks opens a door to not only artistic expression but also to a nurturing experience for all ages. As you follow the step-by-step instructions in the guide, you will find the freedom to innovate while learning a traditional craft that has been enjoyed across cultures. By enhancing your creativity through this method, you can create unique pieces that reflect your personal style. Moreover, the affordability of materials engages families and individuals to participate together, fostering bonding experiences through shared creation. The simplicity of the components involved keeps the process uncluttered and focused on the joy of art-making. This makes the Create Artistic Paper Mache Masks guide not just a crafting activity, but a vital tool for connection and learning. Dive deeper into the artistry of paper mache and discover the endless possibilities that await!
SEE ALSO: Click here to read another article
Adding Artistic Flair Through Decoration
With your mask’s base securely built and dried, it’s time to dive into the delightful world of decoration. This is where you can truly express your creativity and personality by transforming your mask into a stunning work of art. Here are some engaging techniques that you can use to embellish your masterpiece:
Painting Your Mask
Painting is one of the most impactful ways to add color and character to your paper mache mask. Choose acrylic paints for vibrant, long-lasting results. Here’s how to go about it:
- Base layer: Start with a solid coat of white paint to provide an even canvas for your colors. This layer will help your subsequent colors pop and create a bright foundation.
- Design your pattern: Use a pencil to lightly sketch out your desired designs on the mask. Whether it’s floral patterns, geometric shapes, or whimsical creatures, planning your layout will guide your painting process.
- Layer your colors: Employ a variety of brushes to create depth. Consider layering lighter colors over darker ones or using stippling techniques to add texture.
Ensure adequate drying time between coats to avoid smudging. Don’t hesitate to experiment with color combinations, as unexpected pairings can yield extraordinary results!
Incorporating Texture with Mixed Media
To take your mask to the next level, consider using mixed media techniques. These methods introduce different materials and textures that can enhance visual interest. Some ideas include:
- Fabric scraps: Bits of colorful fabric can be glued onto your mask, adding a tactile element that elevates its aesthetic. Consider using burlap or silk for an intriguing contrast against the smooth painted surfaces.
- Natural elements: Feathers, dried flowers, or leaves can be affixed to your mask to incorporate the beauty of nature. Not only do these items beautify your creation, but they can also invoke themes of mysticism or whimsy.
- Glitter and sequins: For those looking to add a touch of glamour, sprinkle glitter over wet paint or glue sequins on strategic areas. The shimmer can really make your mask shine at events!
Sealing and Finishing Touches
Once your artistic expression is complete, you’ll want to ensure that your mask is protected and retains its beauty. Consider applying a sealant or varnish to provide a durable finish. Here’s what you need to do:
- Select a sealant: A clear acrylic spray or a decoupage medium can seal in your design and add a glossy finish.
- Apply evenly: When applying the sealant, make sure to do so in a well-ventilated area. Hold the spray can about 12 inches away from the mask and apply even coats.
- Let it cure: Allow your mask to dry completely according to the instructions on the sealant, giving you a sturdy and stunning final product.
Now that you have decorated and sealed your paper mache mask, the transformation from simple mold to artistic masterpiece is complete. Whether you’ve created a whimsical creature, an elegant masquerade mask, or an intricate representation of a cultural symbol, each piece embodies your personal touch. Embrace the joy of creation, and share your craftsmanship with friends, family, or even at local art shows, where your unique mask can inspire others to embark on their own artistic adventures!
SEE ALSO: Click here to read another article
Conclusion
Creating artistic paper mache masks is an exhilarating journey that transcends mere crafting; it’s an expression of imagination and individuality. This step-by-step craft guide has equipped you with the essential techniques and tips, from crafting the base to adding intricate decorations, to ensure that your masks not only stand out but resonate with personal significance.
As you immerse yourself in the art of mask-making, consider delving deeper into the rich cultural history and significance behind masks in various traditions. Understanding the purpose and symbolism of masks can provide greater depth to your creations and inspire new ideas. You might explore the vibrant customs of festivals like Mardi Gras or the nuanced intricacies of indigenous art — each steeped in meaning and history.
Moreover, don’t underestimate the power of community. Joining local crafting groups or online forums can open up a wealth of inspiration and foster collaborations with fellow artists. Sharing what you’ve learned and showcasing your artistic endeavors can motivate others to embark on their own creative paths, enriching the crafting world.
Finally, whether you’re preparing for a masquerade ball, celebrating a cultural festival, or simply channeling your creativity at home, remember that each mask you create is a unique testament to your artistic flair. Let your masks not only adorn your face but also tell stories, provoke thoughts, and spark conversations. The world of paper mache is vast, and your artistic journey has only just begun!
Related posts:
Create Decorative Frames with Buttons and Fabric A DIY Guide
How to Create Colorful Mosaics Using Recycled Ceramics
Boost Creativity Mindfulness with Origami Techniques A Guide
How to Make Paper Sculptures Using Only Simple Materials
Beachcombing Art Craft Unique Creations with Seaside Finds
Start Stop Motion Animation at Home DIY with Everyday Materials

Linda Carter is a writer and creative hobbies expert specializing in crafting, DIY projects, and artistic exploration. With extensive experience helping individuals discover their creative potential and bring their ideas to life, Linda shares her knowledge on our platform. Her goal is to empower readers with practical tips, inspiring ideas, and step-by-step strategies for success in the world of creative hobbies.